Smooth running motor
I've spent the last two weeks trying to track down a nasty vibration from the motor. The motor spins by itself very smoothly, has a little wobble with the pressure plate attached, and trys to shake the table apart with the flywheel attached. Must be the flywheel right? It may not be perfect, but it's near what I can do with my calipers. I could do better with a lathe and an indicator, but it was close. It turns out one of the alignment pegs on my flywheel was sheared off and the one peg with the 9 bolts wasn't enough alignment. Thankfully the clutch house had one to replace it with, bolted it up and... it still vibrates, but not as much. Last night I was willing to try anything different and put my old pressure plate on. Voila! Almost no vibration, just a motor revving up silky quiet. There is still a little of the old shimmy, but it's MUCH better.
Now a couple pics:

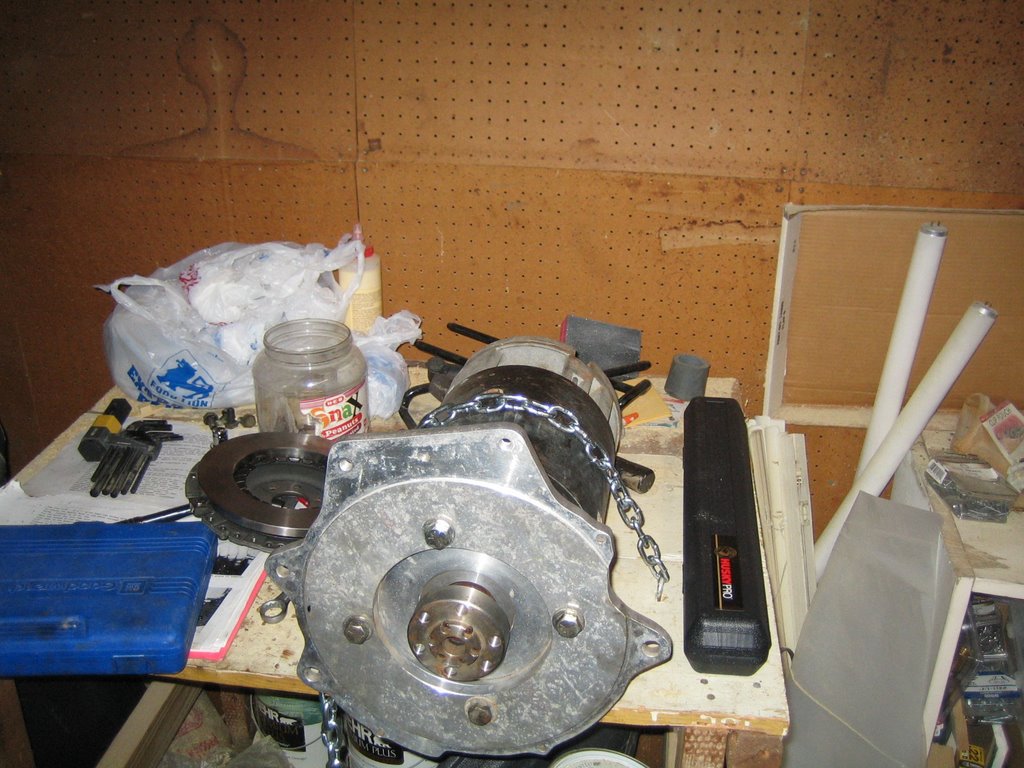
This is a progression of assembling the parts to the motor. The parts are laid out here. Clockwise these are: The 8" ADC motor with spacer ring and taperlock hub already attached, the other half of the taper lock adapter that attaches to the pressure plate, the transmission adapter and the old pressure plate.
Motor with taperlock hub and transmission adapter in place.
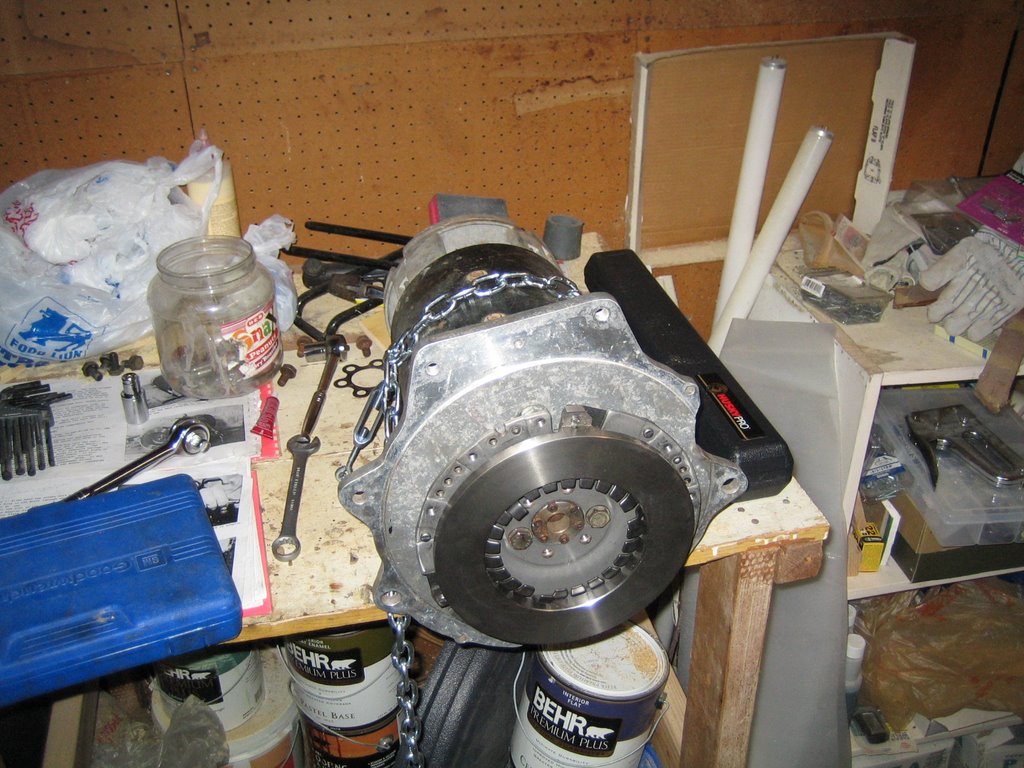
Motor with new pressure plate on it, it was so pretty. Too bad it stank.
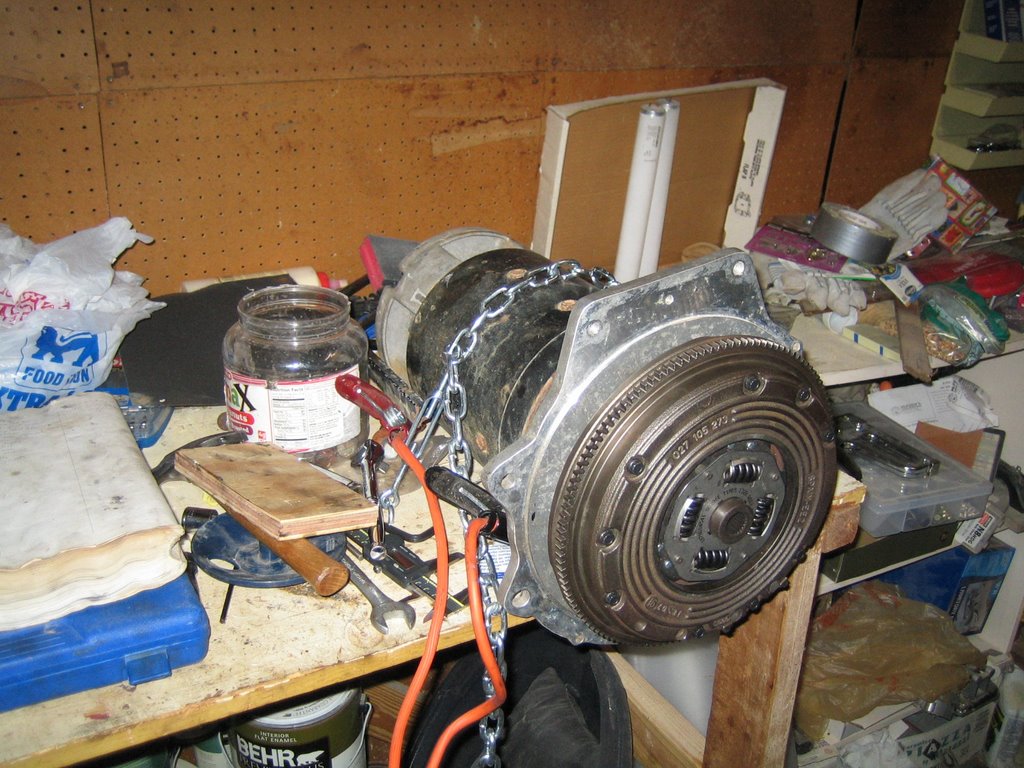
The full assembly with the clutch and flywheel mounted. Those who know too much about VWs will notice the outer flange of the flywheel is thinner than it used to be. I didn't get too aggresive since I didn't know how it all fit together. I'll drop another couple pounds next time.
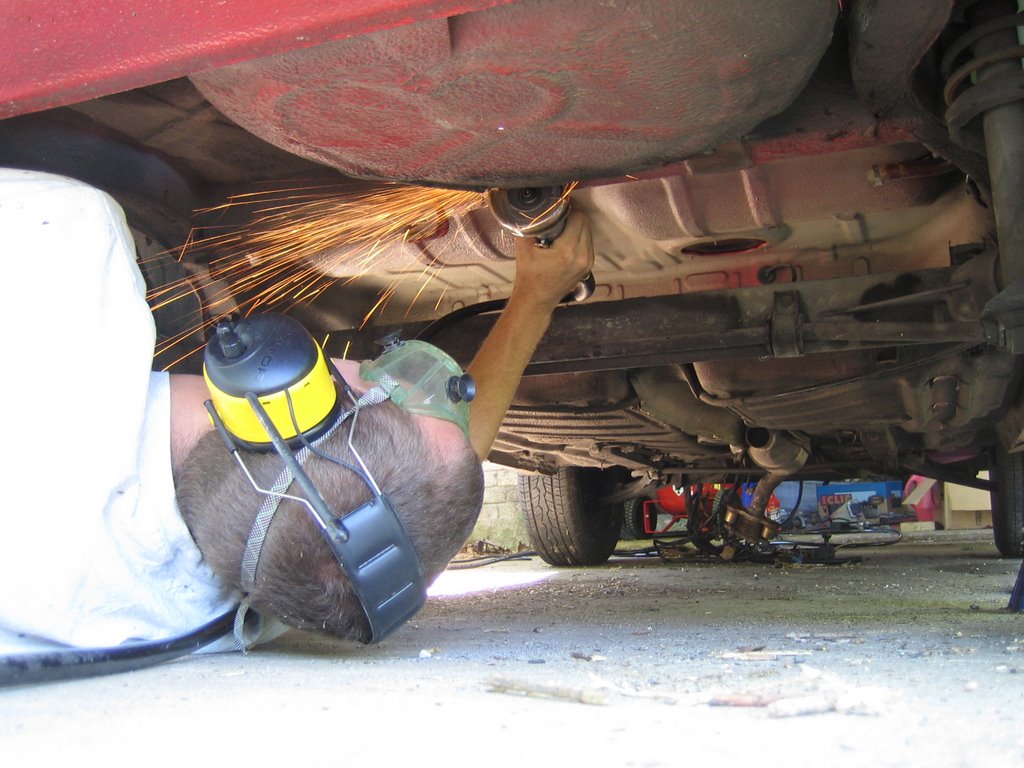
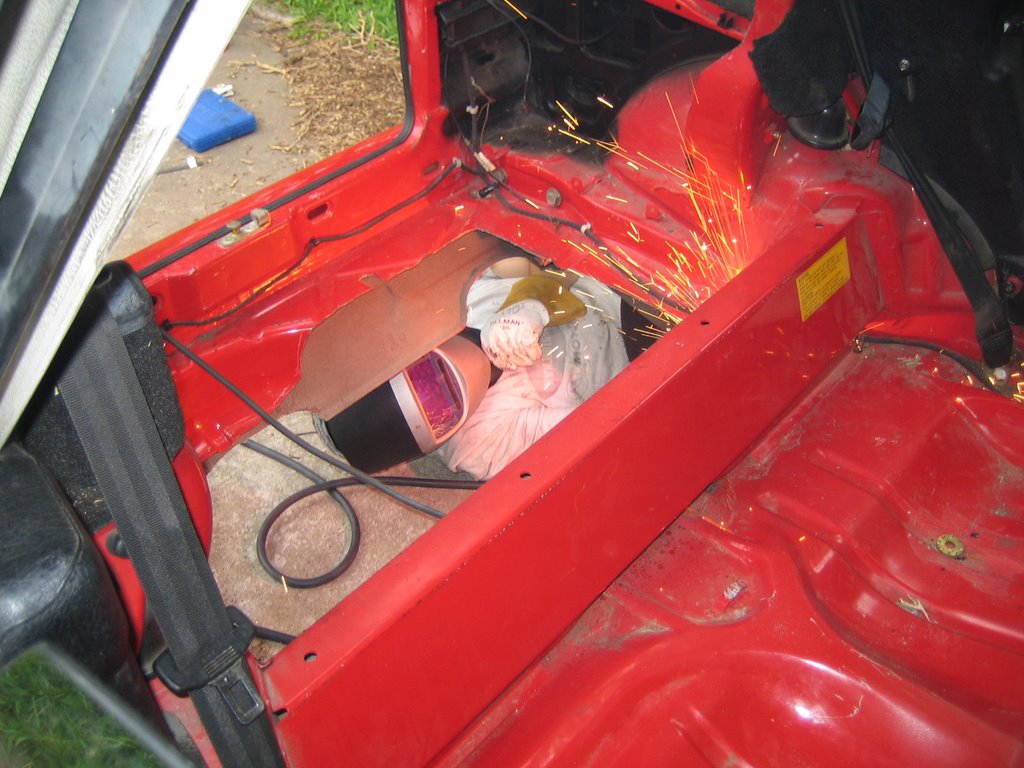 This is me using the best invention since the wheel, which led to pizza delivery. Chris's plasma cutter was a godsend for the cramped spots and weird angles cutting around the cross bracing left me with.
Not to mention it's a lot of fun to play with. It's the one inch light saber as Chris says. These cuts would have taken 5 times longer using a Sawzall.
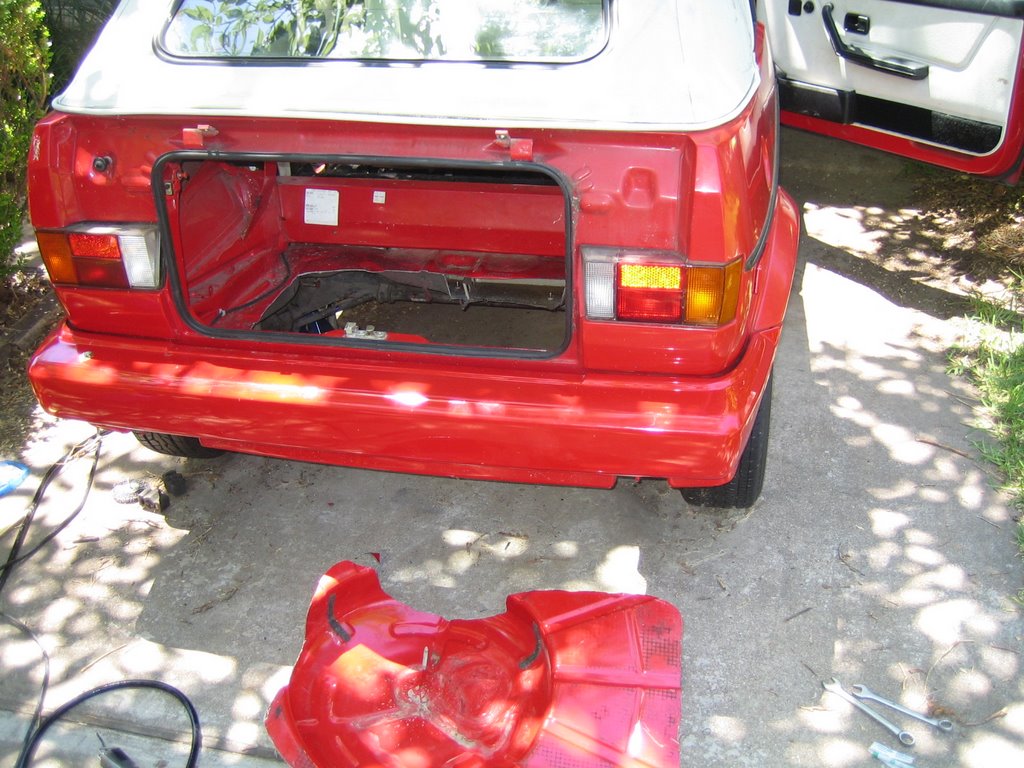
 The rear battery box cutout is almost done at this point!
Next post should have the manual steering rack and motor in the car! Hope springs eternal.
posted by Peanut Butter @ 6:23 PM
20 comments
![]()